How to Automatically Eject All Disks on a Mac
I connect several hard drives to my MacBook Pro’s docking station. It’s always been a pain to manually eject the disks one by one before removing the MacBook from the dock. There are 3rd party apps that can handle this, but I didn’t want to install unknown/untrusted apps, and didn’t want to spend any money on it. I assumed there must be a way to use AppleScript to automate the process, and sure enough, it was a breeze.
Here’s a quick rundown of how I got it working, and how I customized my setup to make it as convenient as possible to use. The entire process (including research) took less than an hour; if you follow the steps below, you can get it working on your Mac in just a few minutes.
The AppleScript
Not wanting to reinvent the wheel, I searched to see if I could find any existing scripts rather than write one from scratch. User VikingOSX posted the following script to the Apple Community site.
-- in this example, "T M" is the name of the Time Machine drive which is not to be ejected
set excluded to {"home", "net", "T M"}

tell application "Finder"
    set alist to (every disk whose ejectable is true or local volume is false and excluded does not contain its name)
    log alist
    (*
    repeat with adrive in alist
        eject adrive
    end repeat
    *)
end tell
I updated the script to comment out the log line and uncommented the repeat block.
-- in this example, "T M" is the name of the Time Machine drive which is not to be ejected
set excluded to {"home", "net", "T M"}

tell application "Finder"
    set alist to (every disk whose ejectable is true or local volume is false and excluded does not contain its name)
    (* log alist *)
    repeat with adrive in alist
        eject adrive
    end repeat
end tell
I gave it a spin in the AppleScript app, and it worked great.
Import to Automator
The next step was to convert the AppleScript to an application. This required using Automator. I created a new Automator file (application), inserted a Run AppleScript block, and pasted the AppleScript inside the block.
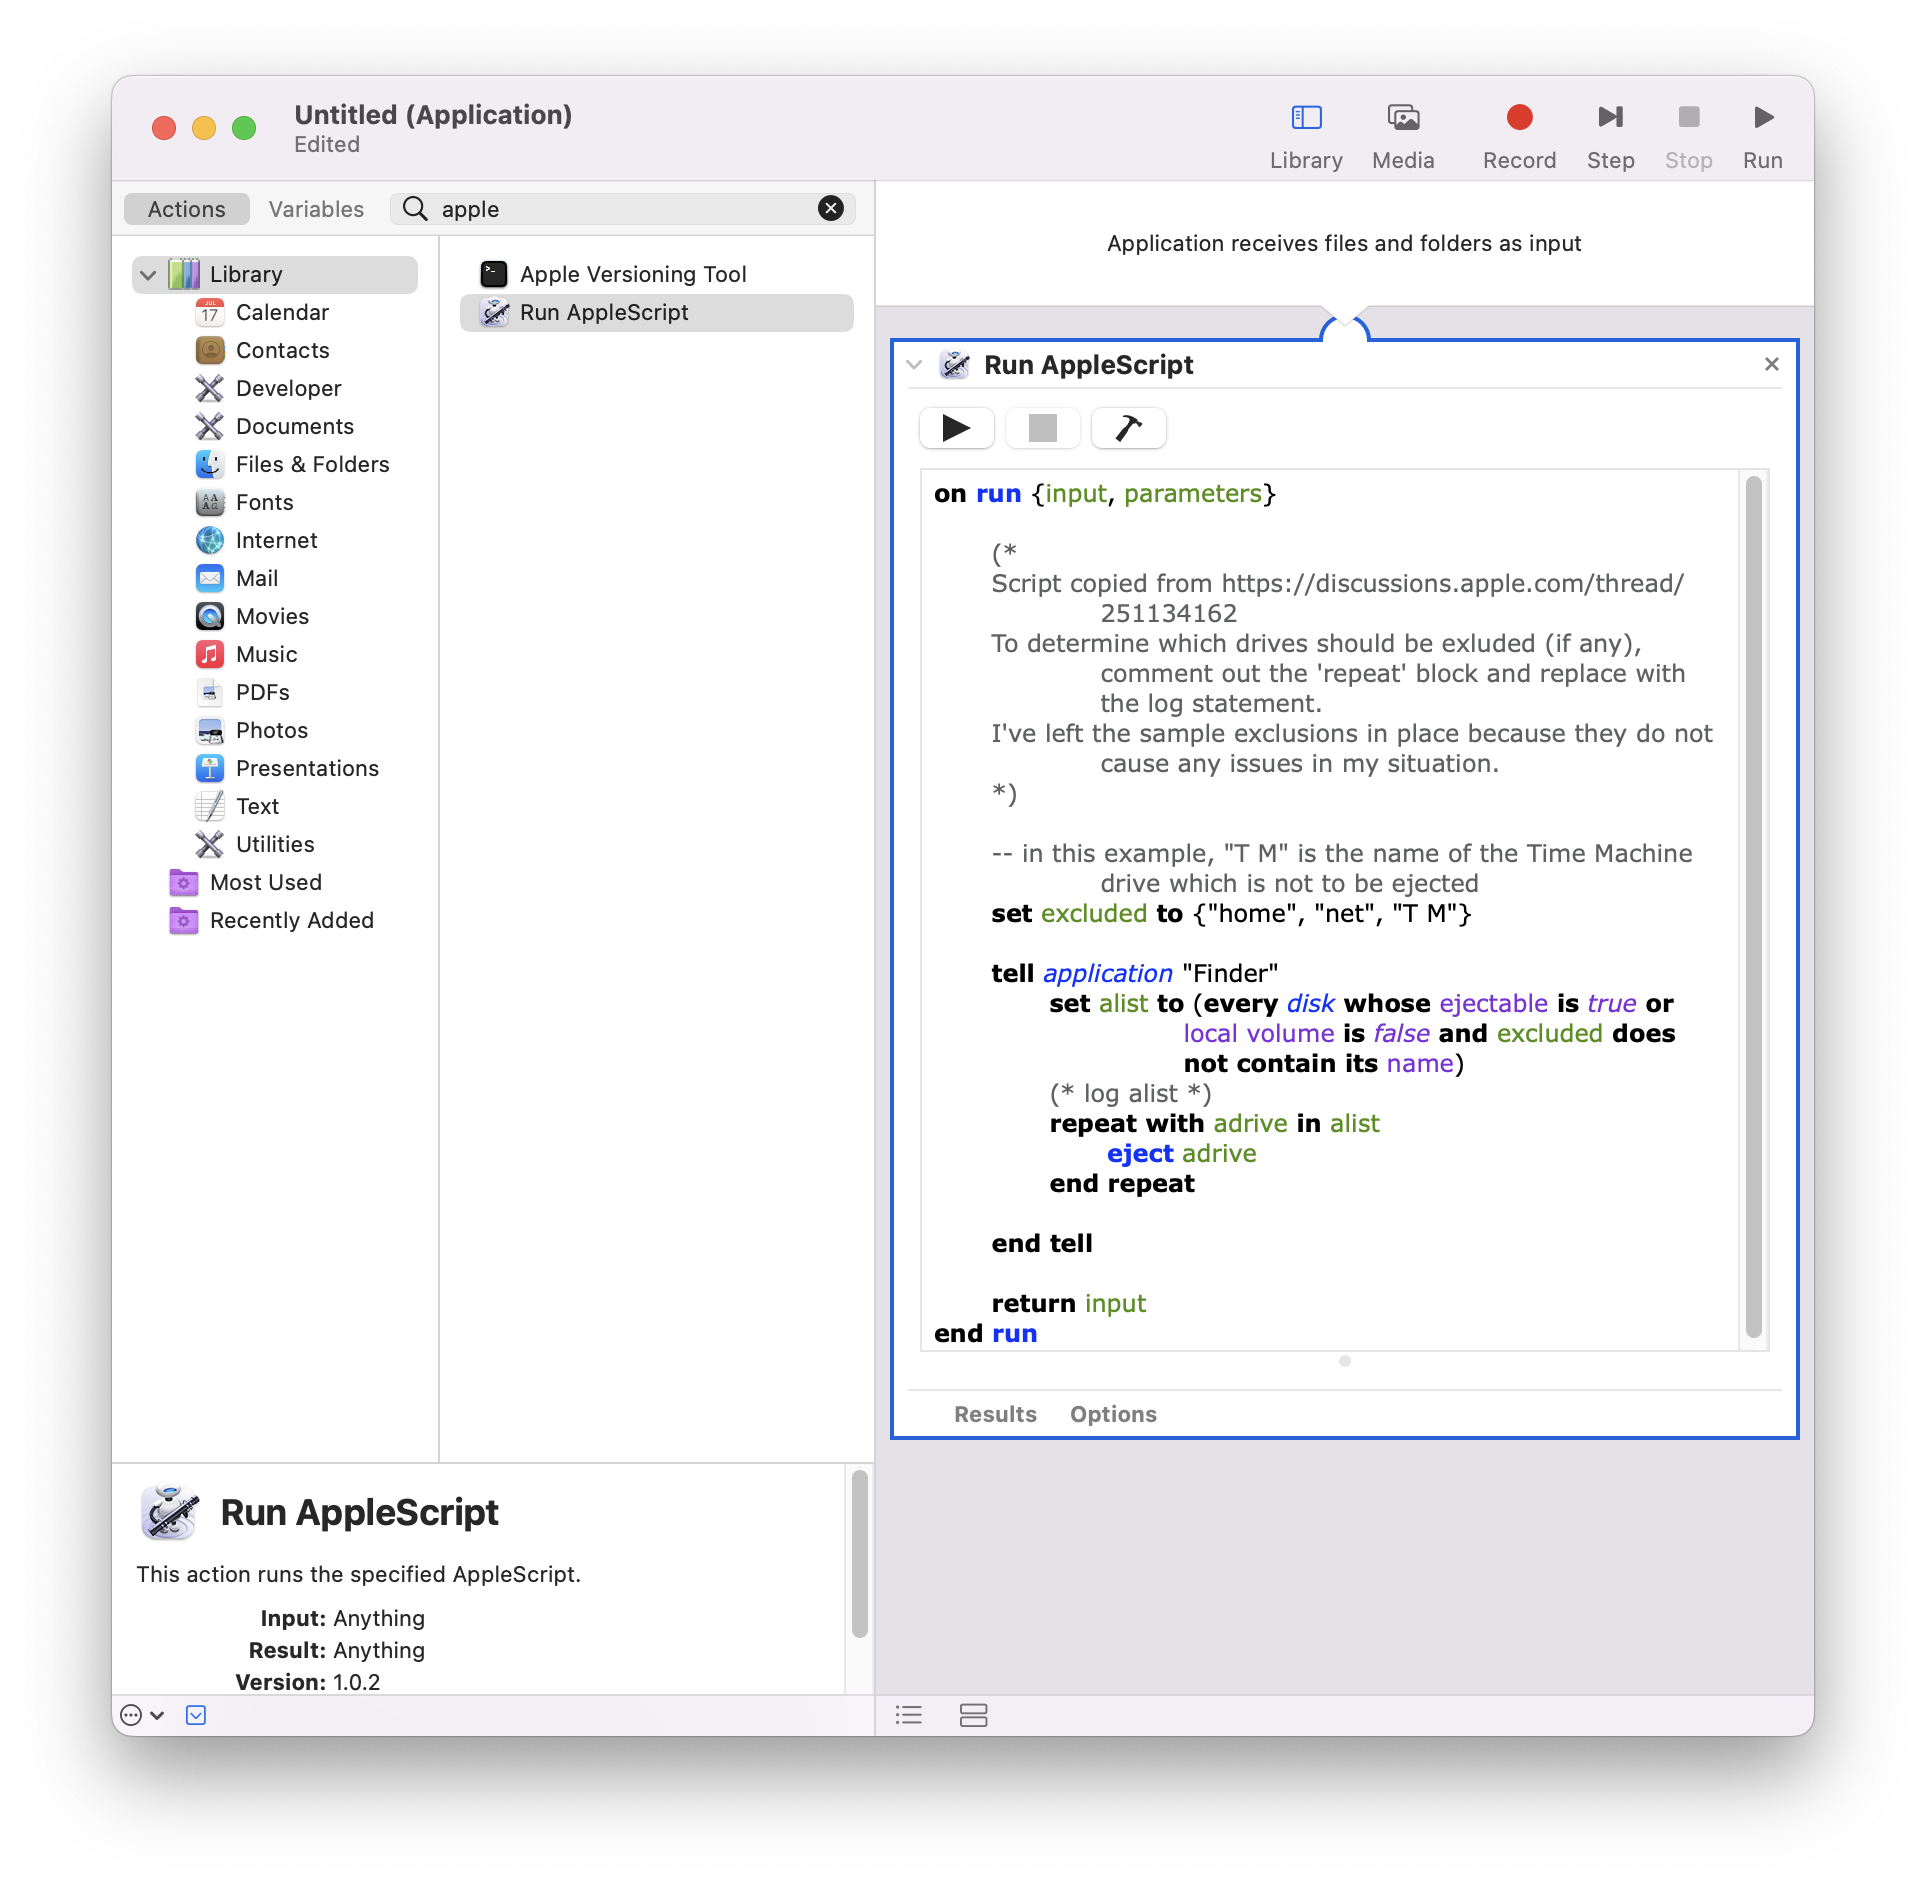
Automator, with the Run AppleScript block in place
Add a notification
Next I wanted to add a notification so I would be informed when the script had finished running. To do this, I inserted a Notification block after the Run AppleScript block.
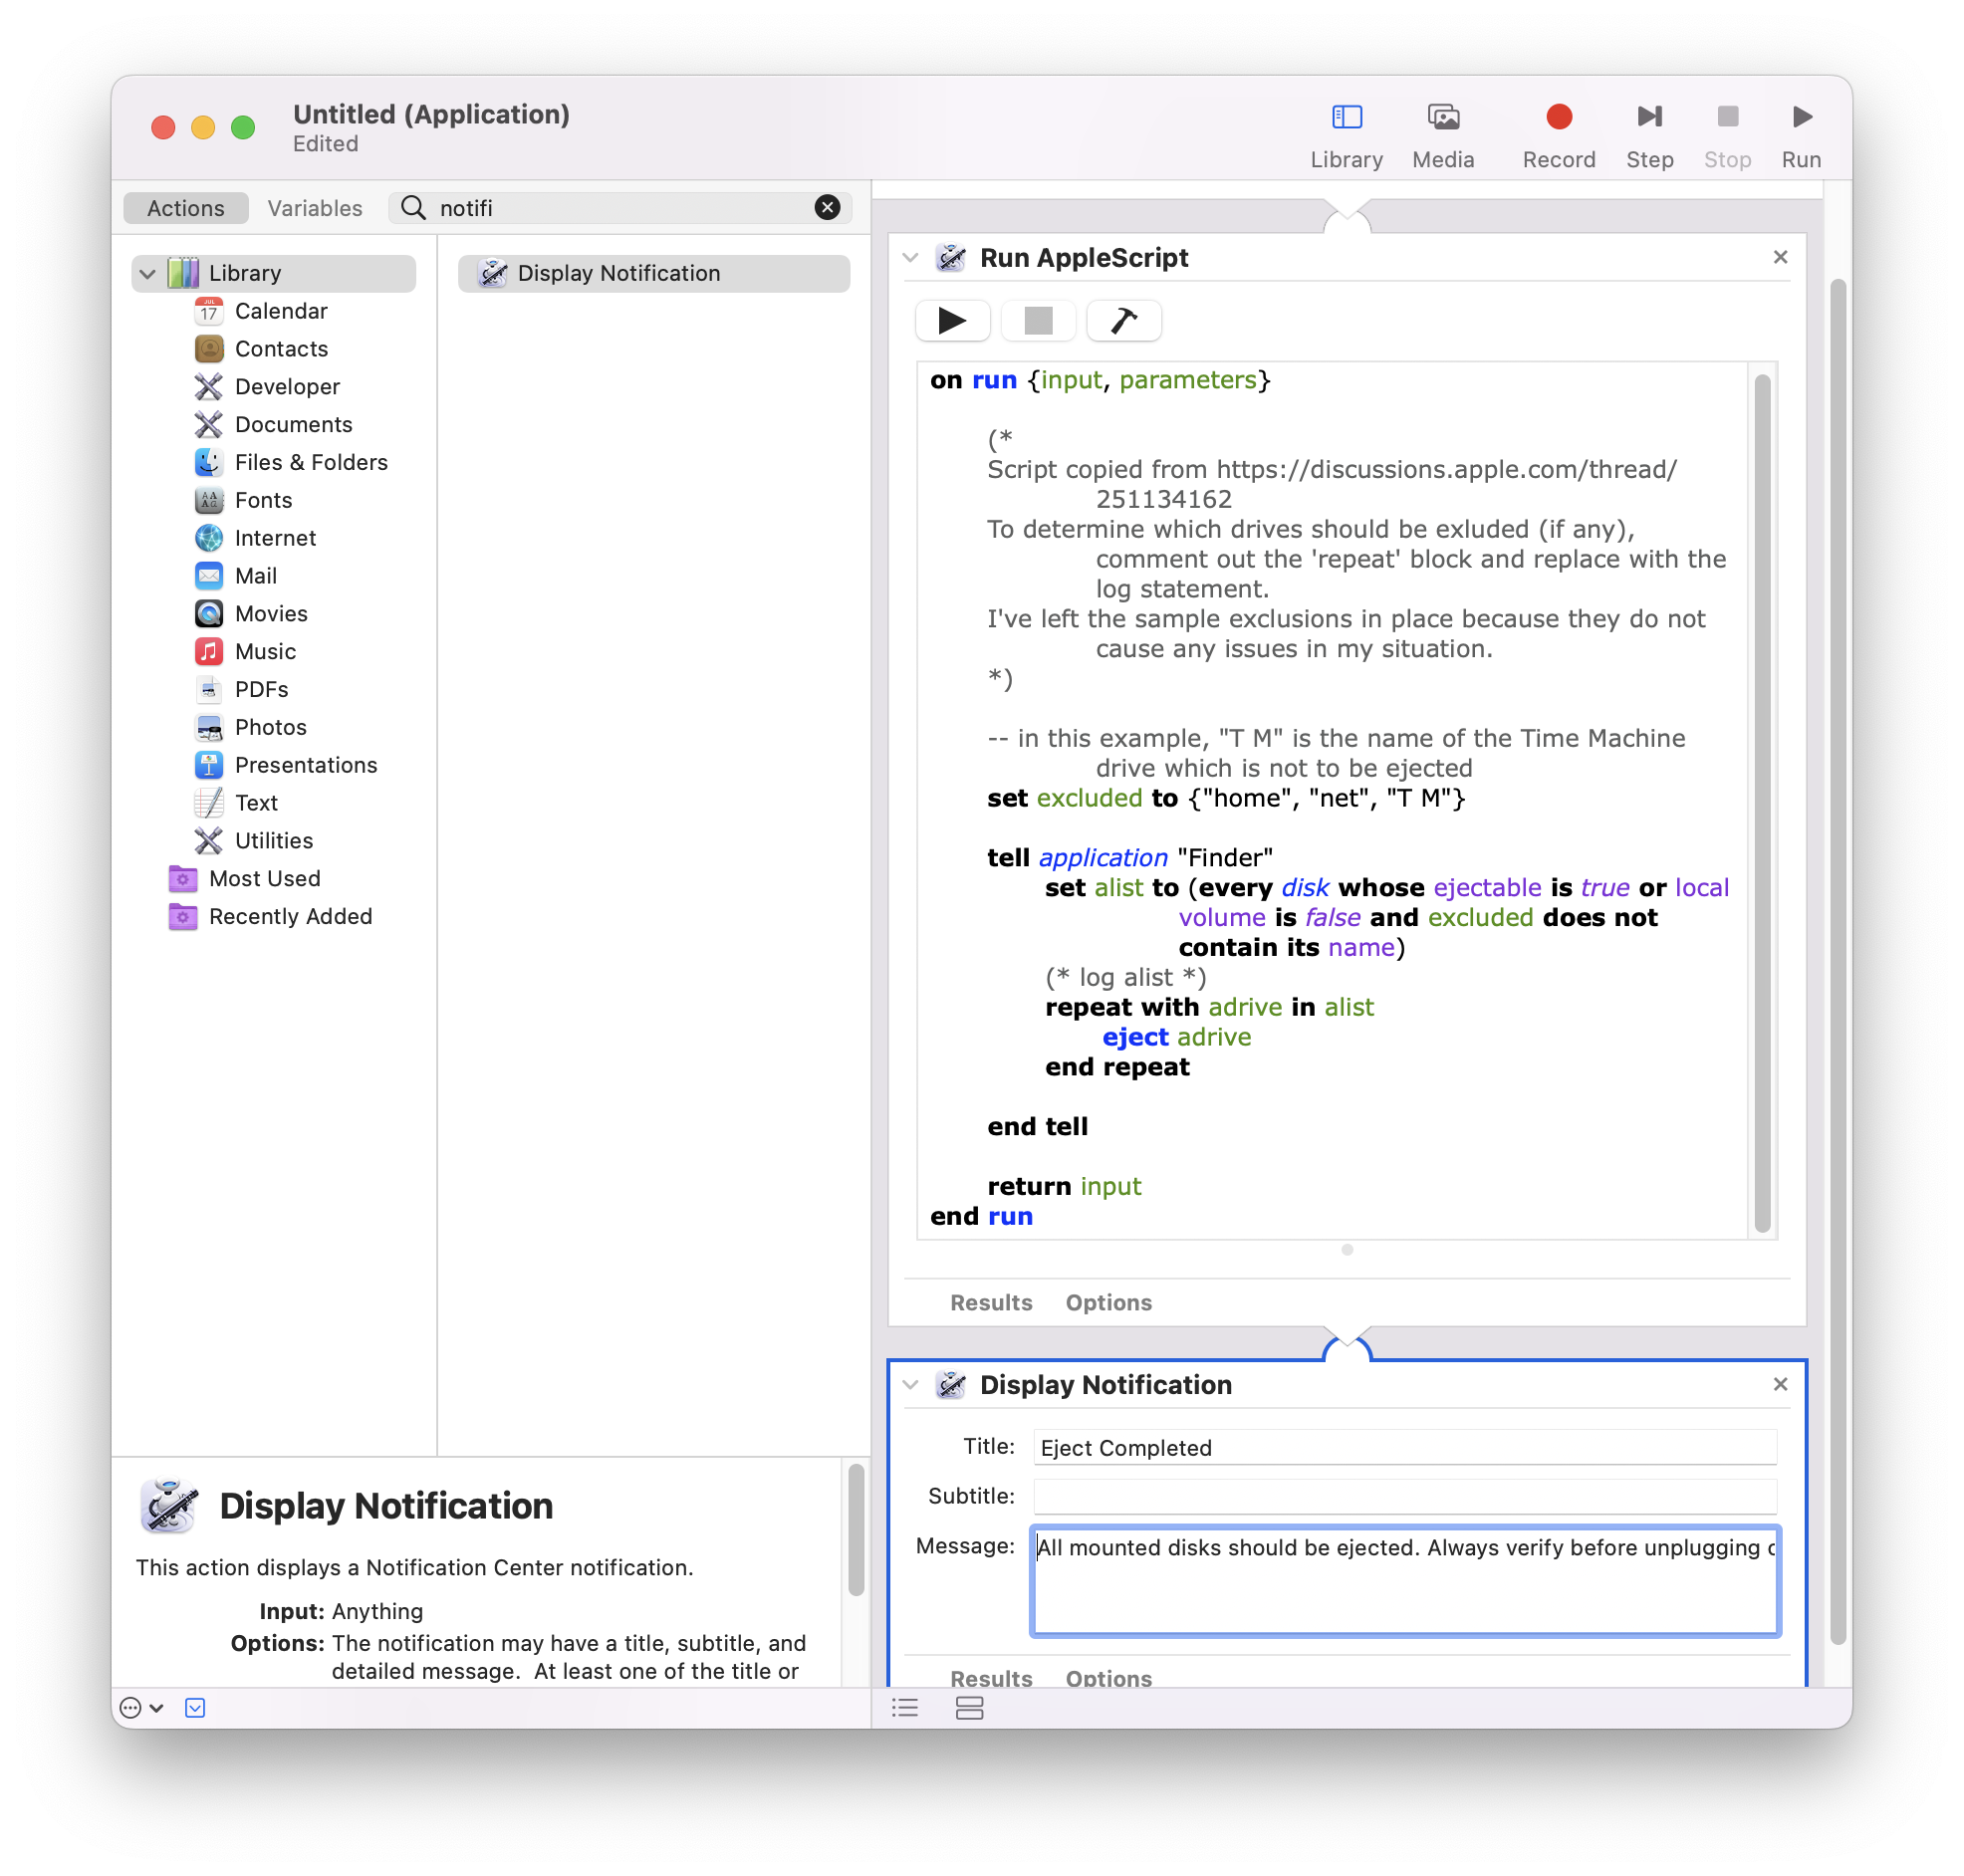
Automator, with the Display Notification block in place
Export as an application
After testing the app to ensure it worked as expected, I saved it as an application named Eject Disks.
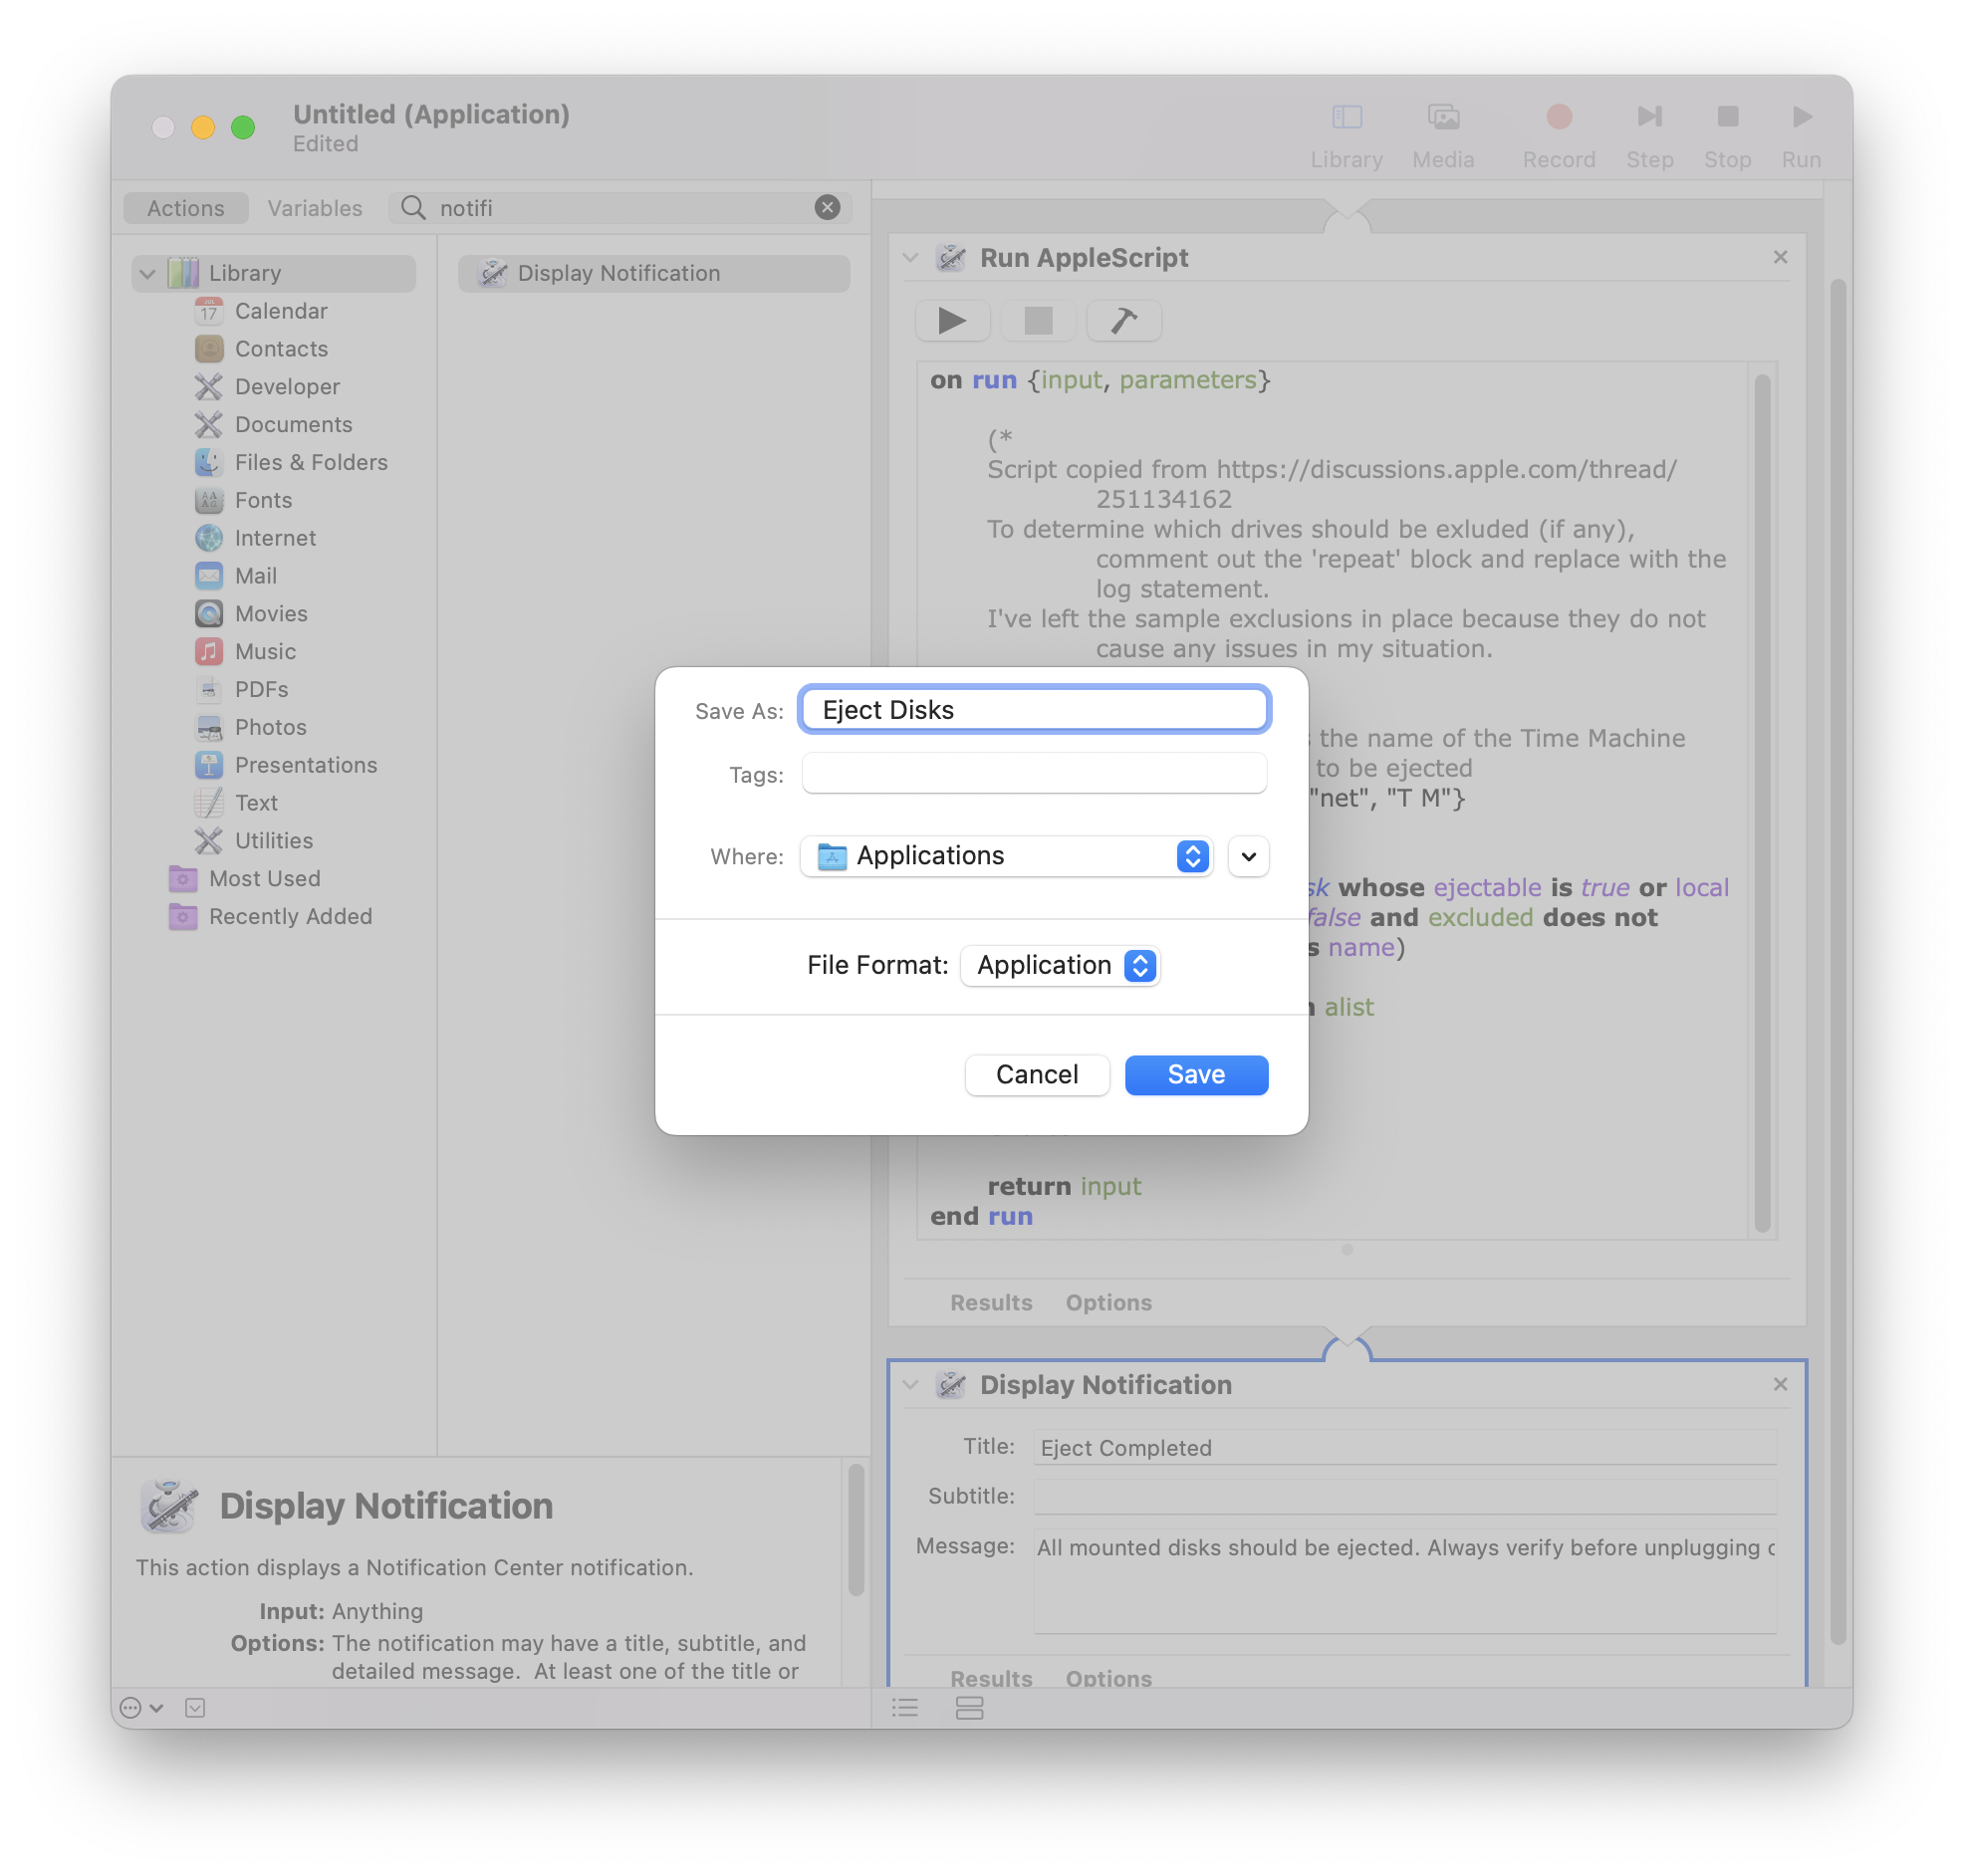
Save as Application
Customize icon
By default, Automator will save the app with an Automator icon.
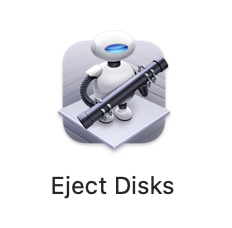
I wanted something a little nicer, so I customized the external disk icon in Affinity Designer to include the eject symbol.

I replaced the Automator icon by dragging the new icon onto the icon displayed in the Eject Disks.app’s Get Info window.
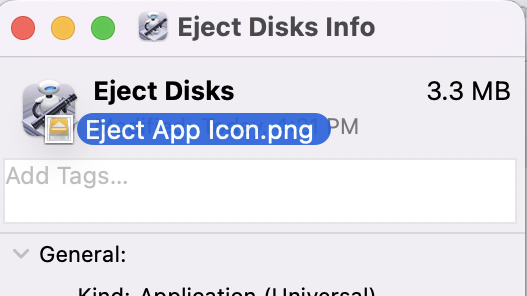
Dragging the new icon onto the old one
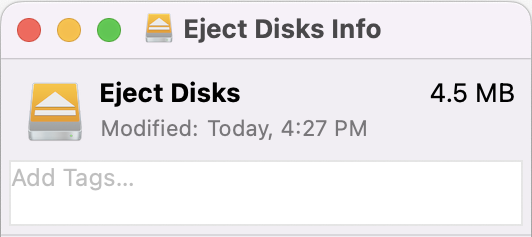
The new icon is installed
Place in Dock
For convenience, I placed the icon in my Dock, so I can quickly click it when I need to move my laptop.
Change notification preferences
When I tested the app, everything worked as expected, but I noticed the notifications were only showing up in Notification Center. I wanted them to appear as a banner on my desktop. This required a quick change in the Notifications & Focus preferences. For the application Eject Disks, I enabled notifications, and set alert style to Banners.
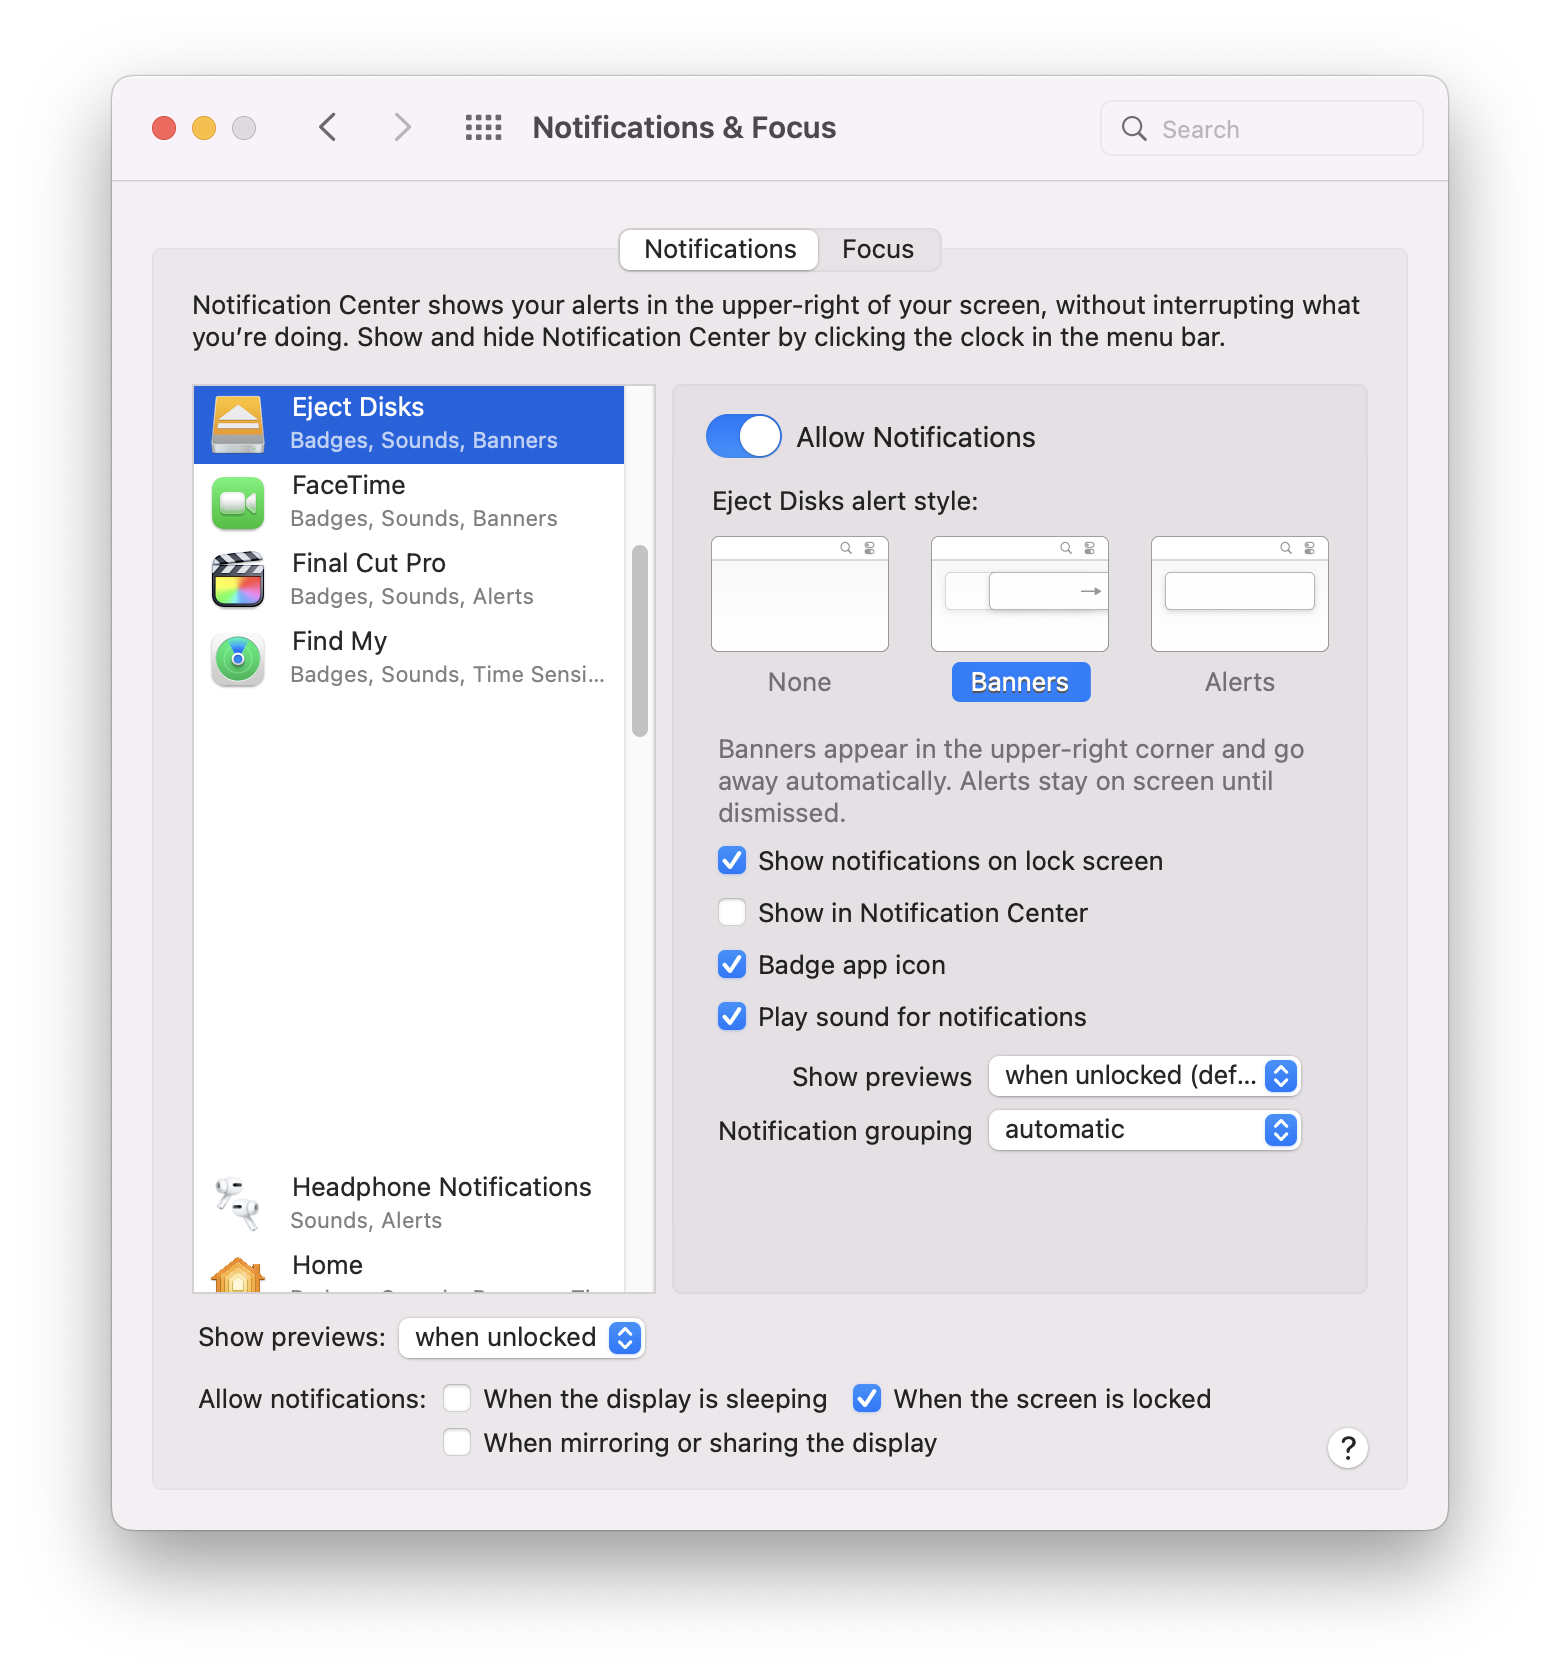
Setting the Notification preferences
And that’s all there was to it!
The script works really well, and is so much more convenient that ejecting each disk individually. It didn’t require any purchases or installing 3rd party apps, so it’s cheap and safe.